A “LAMP” stack is a group of open-source software that are installed together in order to host a website or a web application on a hosting server. LAMP is an abbreviation for Linux operating system, Apache web server, MySQL for storing the data in the database and PHP to process the data on the front of site.
In this blog, we will see how to Install LAMP stack on Ubuntu 20.04 server.
In order to follow this blog, we assume you already have an Ubuntu 20.04 server with a root or a user account which has sudo rights such that we can install the required packages seamlessly.
Step 1: Installing Apache
Apache stands out to be one of the most popular web servers which has intense documentation available and a widely used web server to host varied set of applications. You can install apache on your server by executing the following commands in sequence.
sudo apt update
sudo apt install apache2
If this is the first time you’re using sudo within this session, you’ll be prompted to provide your user’s password to confirm you have the right privileges to manage system packages with apt. In case you are already executing the above set of commands with the root user you won’t be asked to enter any password. You’ll also be prompted to confirm Apache’s installation by pressing Y, then ENTER.
Once the installation is completed, you should be able to visit your public IP of the server or localhost (if you are installing this on your local machine) and see a default apache web server page which should look like something as given below-
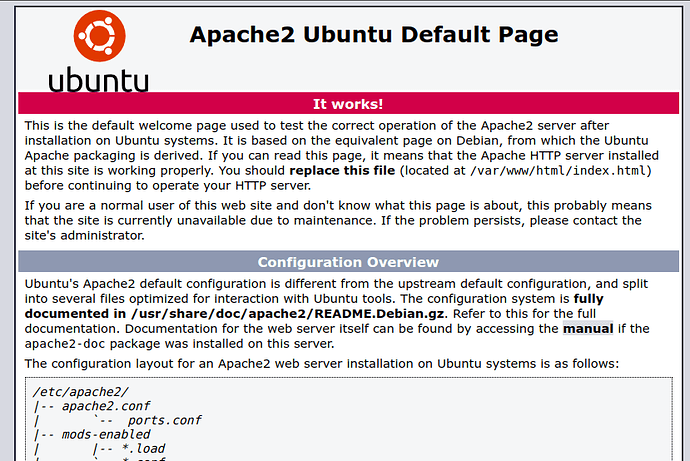
If you see this page, then your web server is now correctly installed and accessible through your a public network.
Step 2: Installing MySQL
Now that we have our apache web server already up and running, it’s time to install MySQL database in order to store our data into a Database. MySQL is one of the most widely use Database Management System when it comes to use of any application and most commonly used for PHP applications.
To install MySQL, kindly execute the following command. Note, you will be again prompted to enter Y as a confirmation to install this and then press ENTER
sudo apt install mysql-serverOnce the installation is successful and completed, you can run a mysql_secure_installation by using the following command
sudo mysql_secure_installationYou will need to enter a few details and also setup a password as per your choice when the above script is in execution, after all of this you may login to the MySQL console using the command as-
sudo mysqlYou may try out the basic SQL queries and also add users in case you need to add them, once all of your SQL operations are complete you can exit the MySQL console using the following command-
exitWith this, we have successfully installed our apache server as well as MySQL. Next, we’ll install PHP, the final component in the LAMP stack.
Step 3: Installing PHP
Now we have Apache installed to serve our web content and MySQL installed to store and manage our data. Now we will install PHP which is used to process dynamic data on the frontend to the end user. In addition to the php package, we’ll need php-mysql and libapache2-mod-php to let MySQL communicate with php and enable Apache to handle PHP files. Core PHP packages will automatically be installed as dependencies.
To install all the packages, run the following command
sudo apt install php libapache2-mod-php php-mysqlOnce the installation is successfully completed, you can verify the installation and the php version by using the following command
php -vOutput
PHP 7.4.3 (cli) (built: Mar 29 2021 20:24:23) ( NTS )
Copyright (c) The PHP Group
Zend Engine v3.4.0, Copyright (c) Zend Technologies
with Zend OPcache v7.4.3, Copyright (c), by Zend TechnologiesWith this, we have successfully installed our LAMP stack application on our Ubuntu server. To verify the installation you may add a test php/html file as index.php in the path /var/www/html and the file output should be visible when you access your servers public IP http://server_domain_or_IP or localhost (if you have installed LAMP stack on your local machine)
Conclusion
In this blog, we have seen how we can install LAMP stack to host our applications developed using HTML, CSS and PHP. This installation should work on your local machine as well as remote hosting servers where you buy VPS without any cPanel or Control Panel.